How To Install phpMyAdmin on Ubuntu 22.04
In this guide, we will explain how to install phpMyAdmin on Ubuntu 22.04, allowing you to manage MySQL databases through a user-friendly web interface.
phpMyAdmin is a free and open-source web-based tool written in PHP, used for managing MySQL and MariaDB databases. It provides a graphical interface for a variety of database operations, simplifying the complex process of database management with its user-friendly web interface.
Prerequisites
- It works on all Linux distributions.
- Operating system used: Ubuntu 22.04.
- Install Apache.
- Install MariaDB.
Step 1: Update & Upgrade the Server
To update and upgrade the package lists from the repositories, run the following commands:
sudo apt update -y
sudo apt upgrade -y
Step 2: Install the Necessary Packages
To set up the essential packages for phpMyAdmin installation, run:
sudo apt install apache2 mariadb-server php libapache2-mod-php php-mbstring php-zip php-gd php-json php-xml php-mysql
After installation, start and enable the services:
To start and enable Apache service:
sudo systemctl start apache2
sudo systemctl enable apache2
To start and enable MariaDB service:
sudo systemctl start mariadb
sudo systemctl enable mariadb
Step 3: MySQL Secure Installation
Run the MySQL secure installation to configure security settings:
sudo mysql_secure_installation
Follow the prompts to set a root password and configure other security settings.
Step 4: Install phpMyAdmin
To install phpMyAdmin, run:
sudo apt install phpmyadmin -y
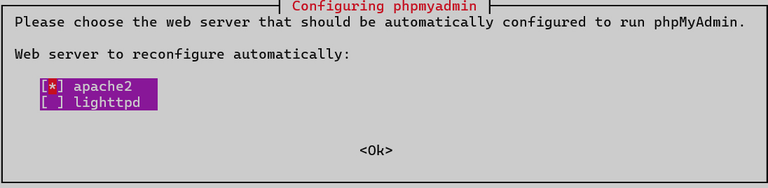
 During the installation process:
Choose the web server to configure for phpMyAdmin. Select apache2.
Configure the database for phpMyAdmin. When prompted by dbconfig-common, click YES.
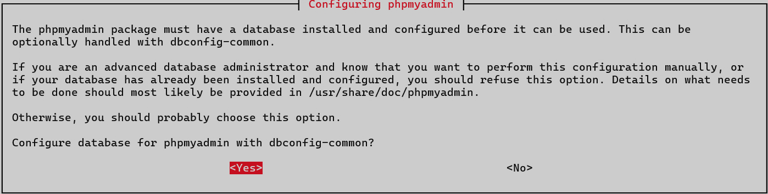
- Provide a password for phpMyAdmin to register with the database server.

After these steps, phpMyAdmin will be installed.
Step 5: Create a Database and User
Login to MySQL:
sudo mysql -u root -p

Run the following commands to create a database, user, and assign privileges:
CREATE DATABASE mydatabase;
CREATE USER 'myuser'@'localhost' IDENTIFIED BY 'mypassword';
GRANT ALL PRIVILEGES ON mydatabase.* TO 'myuser'@'localhost';
FLUSH PRIVILEGES;
EXIT;
Step 6: Configure phpMyAdmin
Edit the phpMyAdmin configuration file to set up the user, password, and database. Run the following command:
sudo vi /etc/phpmyadmin/config.inc.php

After making the necessary changes, save the file and restart Apache:
sudo systemctl restart apache2
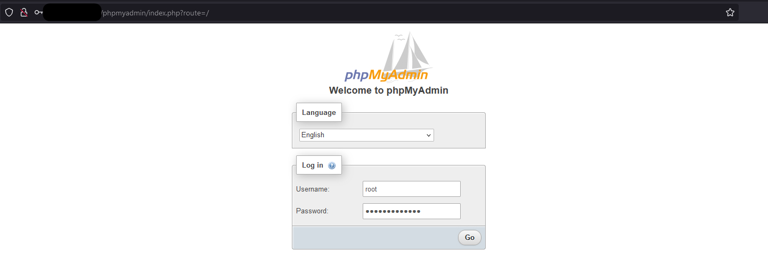
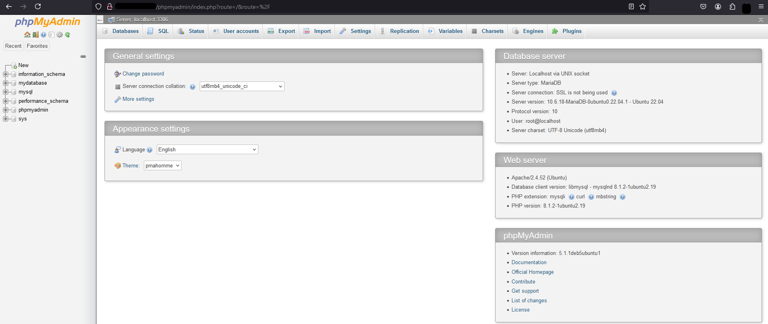
Step 7: Access phpMyAdmin
You can access phpMyAdmin through your web browser. Use the following URL:
http://your_server_ip/phpmyadmin